
On Day 2 of the giant Canada floor map in Prairie Rose, the map travelled to Foremost, Alberta. This is our only K-12 school, so it is not surprising that it had booked the greatest age range of student experiences.
The version of the map that we have is the Canadian Political map that shows all 338 electoral districts in Canada. The larger-scale city insets that are around the edges of the map do cause a bit of confusion for the younger students who struggle to differentiate between the actual Canada and the insets. Fortunately, they kind of look like puzzle pieces, so during certain activities, I can tell the littles that have to find “x” that isn’t on “a puzzle”.
One of the reasons that I chose this map was that it had distinct provincial borders and also showed some physical features such as forests, agricultural land and barren or snowy land. This makes this map quite versatile and so I drew from the online lesson plans that were available from other giant maps on the website at Canadian Geographic Education. In addition, I’ve created some of my own lesson plans.
Biggest Impact
So even though we didn’t have the Indigenous Peoples Atlas Map, I still wanted to be able to offer Indigenous-themed lessons if that was what teachers wanted. This was the case with the only tenth-grade teacher in the district to book a map session -she wanted a lesson related to residential schools. To prepare for this session, the teacher, Mrs. Hazell, had her students research every residential school that existed in Canada and make an info card for it. The residential schools from each province were on separate colours of paper. The info cards seemed a bit large when it came time to place them on the map, so we folded them into quarters – this actually had a great effect as it gave the information a 3-D look which was more impactful.
Even though Mrs. Hazell and I have been teaching students about residential schools for a decade and a half, the impact of this activity was still intense. The visual locations of the schools led to great discussions about history and geography and settlement patterns. We needed more time for this one!


Needs Just a Bit of Tweaking
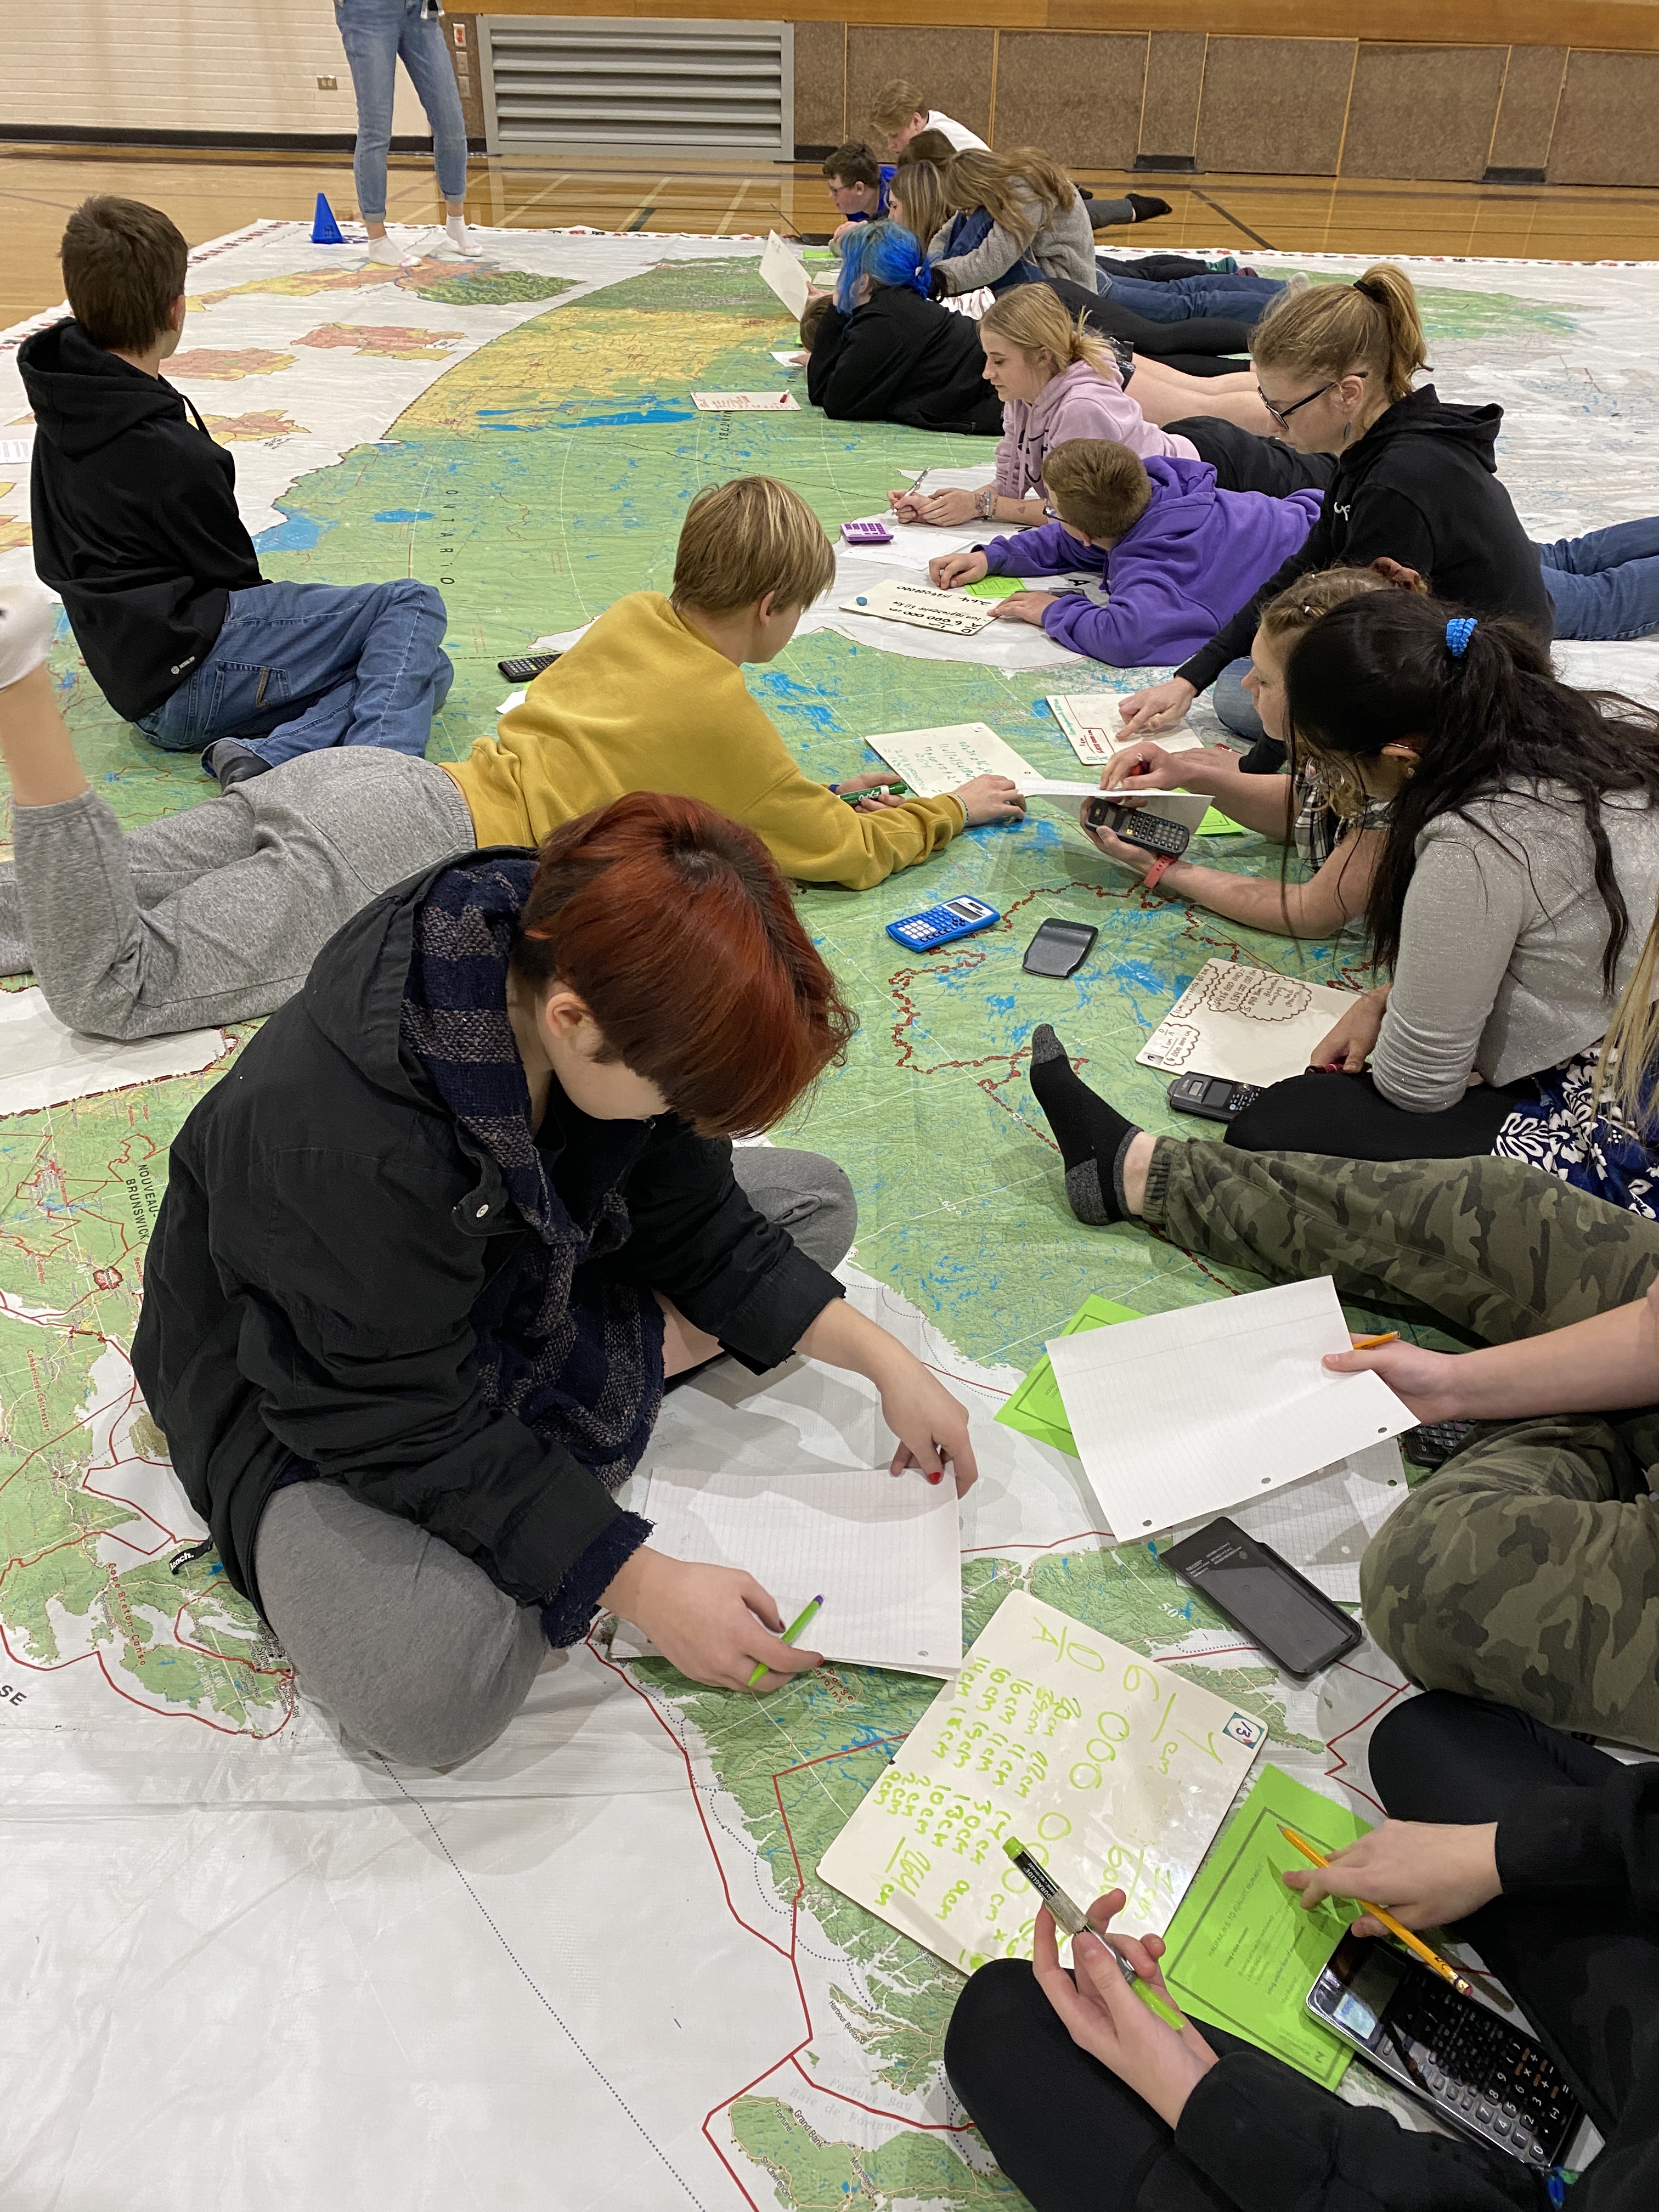
The last class of the day was a request for a Junior High MATH lesson. For this lesson, I used a lesson activity from the Natural Resouces Map. This was a very active lesson where we got out tape measures and crawled around on the map measuring the “highway” distance between two locations. Mrs. Cooper then gave a review lesson on proportion: the scale of this map is 1:6 000 000.
Biggest Improvement
The biggest improvement for today was that I discovered the plastic “chains” and pylons that come with the map. The chains helped to highlight parts of the map for the little kids. We “chained” borders around Alberta and Nunavut several times today.
This chained border around Nunavut was particularly impactful with students in grade 5 and above as we talked about how the purpose of the map “insets” or “pop-outs” was to better show the number of Members of Parliament in a region. Although I talked a fair bit with the grade 5 and 6s about MPs, we didn’t do the actual representation by population activity as they have not yet covered that part of the grade 6 curriculum. At any rate, Nunavut is huge, and it only has a single MP. (Calgary has 10, Toronto has 25.)
Biggest Flop
The biggest flop of the day was with this same grade 5 and 6 class. We attempted to play an Amazing Race type Canada-quiz game. I followed the suggestions in a lesson from the Natural Resouces Map, (modified for the locations visible on this map.) This was not a huge success. 4 groups of students are supposed to listen to a clue and then try and figure out the answer (using legend, scale, knowledge of provinces, etc) and be the first to place their pylon on the correct response. A few issues that I need to resolve:
- Students are weak listeners and are used to “seeing” instructions; the verbal clues (as suggested in the lessons plan) were very difficult for them to follow. I realized this after the first clue and gave each group whiteboards and markers, but discerning what keywords to write down was also difficult.
- Being the “first” to place their pylon also had issues. What if they were incorrect? I thought that I would wait for each clue until all groups had placed a pylon, but that took too long. Many of the clues were location A or B… this resulted in big clusters of kids around the locations — trouble!
Solution?: Maybe give each group a list with all of the clues? Then they write their answers on the papers and the group that gets the most correct answers after X minutes is the victor? This would solve the “listening” issue! They could do clues in any order which would help with the congestion; or maybe we indicate a “shotgun” start like in golf?? This might be a good strategy for Monday at Margaret Wooding School, when there will be multiple grades of classes to visit the map. 3 classes of 12 groups each… Hmmmm, that’s a contest!

Pingback: Day 4: Giant Canada Map in Jr High | What I learned today...
Pingback: Day 5 & 6: Giant Canada Map | What I learned today...
Pingback: Day 8: Giant Map of Canada | What I learned today...
Pingback: #GiantCanadaMap in Southern Alberta | What I learned today...